





























Imagine your phone warns of full storage as you weigh a Nextcloud Docker install. You want your photos close, but they sit in three paid cloud accounts. Your small Ubuntu server already runs Docker, a tool that runs software in separate boxes called containers. So you have a place to start, even if the next steps feel strange. You want one home for your files, with less doubt about where they live. This guide follows that wish from the first setup file to your phone’s first photo upload. We will keep each step plain, because you should know what you start.

Nextcloud gives you free, open-source software for file sync and sharing. Open source means people can inspect its code. Sync means keeping copies of files in step across your devices. But the full service needs more than a place to put photos. It also needs tools that keep records, serve pages, and help you save spare copies. The official setup brings those parts together, so you can guide the work through a web page. First, we will check your server and home network. Then we will start the manager, open its page, and give your new cloud a clear route home.
What your Nextcloud Docker home cloud needs
A Nextcloud Docker setup starts with a Linux server and the right software packages. Linux is the system that runs your server. If you still need to install Docker, follow our guide first. Use its own packages, because the project asks users of the snap package to switch to a standard installation.
Think of your cloud as a filing cabinet in your house, instead of a rented storage unit. Your Nextcloud server gives you that private place for files. But you also need a domain name, the web name you will type. It must point to your server, so visits reach the right home.
You must also forward ports 80 and 443 on your router. Ports are numbered doors for network traffic; forwarding sends visitors through to your server. If you lack a domain, the setup page can register a free dedyn.io subdomain through deSEC. A subdomain is a name beneath another domain, so this gives you a way forward.
Nextcloud All-in-One, or AIO for short, acts like a building manager. You hire one manager, who brings in the other workers. Here, those workers include PostgreSQL, which keeps records; Redis, which keeps handy data close; and a web server, which serves pages. This official Nextcloud route handles those parts together, so you need not arrange each one yourself.
One file starts your Nextcloud Docker setup

The project suggests a Compose file for ongoing use, upgrades, and changes. Think of it as a recipe card that lists what to start. The project also offers a one-line docker run command, but we will follow its suggested file route. Make a folder, then create compose.yaml with this exact content from the project’s Compose example.
name: nextcloud-aio
services:
  nextcloud-aio-mastercontainer:
    image: ghcr.io/nextcloud-releases/all-in-one:latest
    init: true
    restart: always
    container_name: nextcloud-aio-mastercontainer
    volumes:
      - nextcloud_aio_mastercontainer:/mnt/docker-aio-config
      - /var/run/docker.sock:/var/run/docker.sock:ro
    network_mode: bridge
    ports:
      - "80:80"
      - "8080:8080"
      - "8443:8443"
volumes:
  nextcloud_aio_mastercontainer:
    name: nextcloud_aio_mastercontainer
The Docker image supplies the software for the master container. A Docker container is one running software box, and this master starts the others. The socket line gives it that link to the host’s container tools. Meanwhile, the Docker network setting uses the bridge mode shown in the project’s file.
A named Docker volume is like a labelled storage box that stays when you rebuild the kitchen. Here, it holds the manager’s setup. Keep both the container name and volume name exactly as shown, because the built-in backup tool depends on them. This is part of a sound Nextcloud installation, rather than a naming choice.
From that folder, start your Nextcloud Docker setup with the command below. This recipe supports easy deployment because the manager takes over the rest. You use Docker to start that manager first; next, its page helps you install Nextcloud and choose the other parts of your Nextcloud stack.
sudo docker compose up -dOpen the setup page and claim your cloud

Imagine you now open the AIO page for the first time, the place where you set up Nextcloud. For your Nextcloud Docker setup, use your server’s IP address, which is its number on your network. The example below shows the format, but replace the number with your own server’s number. Keep the opening https and port 8080.
https://192.168.5.5:8080Your browser warns because this page uses a self-signed certificate. A certificate is proof a browser checks when it opens an encrypted link. Here, the server signs its own proof, so accept the warning for this known setup page. Use the number rather than your domain, because domain access can break later through HSTS, a browser rule for secure connections.
Think of the domain as a street address and ports as front doors. A trusted certificate is the official house number plate your browser accepts. The setup uses Let’s Encrypt for automatic HTTPS certificates. HTTPS protects the link between browser and server, while ports 80 and 8443 help the manager get that trusted proof.
Save the shown passphrase, a password you need for later visits. Then enter your domain, choose extras, and start the containers. Options include Office, Talk for video calls, Imaginary for image previews, ClamAV for virus checks, and full-text search. Talk also needs port 3478 open for TCP and UDP, two kinds of network traffic. Finally, take the shown admin login to your domain; this replaces the usual Nextcloud setup wizard.
Run Nextcloud behind a reverse proxy

A reverse proxy is like a receptionist who meets visitors and walks them to the right office. If you already use one, your Nextcloud Docker setup must fit that route. The project covers Nginx, Caddy, Apache, and Nginx Proxy Manager in its guide for an existing front end.
First, remove the 80 and 8443 port lines from the service in your file. Keep the 8080 line, because that opens the manager’s page. Then add these exact lines within the service. They set the port and listening address for the part that serves your cloud pages.
    environment:
      APACHE_PORT: 11000
      APACHE_IP_BINDING: 0.0.0.0
Next, configure your existing front end to send cloud visits to port 11000. The project gives this Caddy example, so replace the domain placeholder with your own name. Use the full guide for the matching setup if your existing tool differs. Each visitor needs the right route to reach your cloud.
https://<your-nc-domain>:443 {
    reverse_proxy localhost:11000
}
Choose this branch only when it matches your home setup. The first file covers the direct route, while these changes cover an existing shared entrance. Decide who receives web visits before you change ports, because that choice shapes the rest of the installation. Once the route is clear, return to the manager’s page and follow the same domain and login steps.
Keep spare copies and bring your phone home

Your Nextcloud Docker cloud needs a spare copy before it becomes your main home for photos. Think of backups as spare keys kept in another building. They serve a different need from the keys in your pocket. In the setup page, choose a backup location and run your first backup.
The built-in backup system uses BorgBackup, a tool that makes backup archives. An archive is a saved bundle used to bring data back. To restore, you need both the archive and its password, so keep track of both. A backup plan should tell you where each lives, rather than leave you to guess later.
Then turn on daily backups and automatic updates through the same page. The manager can update the containers, the cloud software, and its apps after backups. So the job does not end when the login screen appears. Give those controls the same care as the domain, because your files are the point of this whole setup.
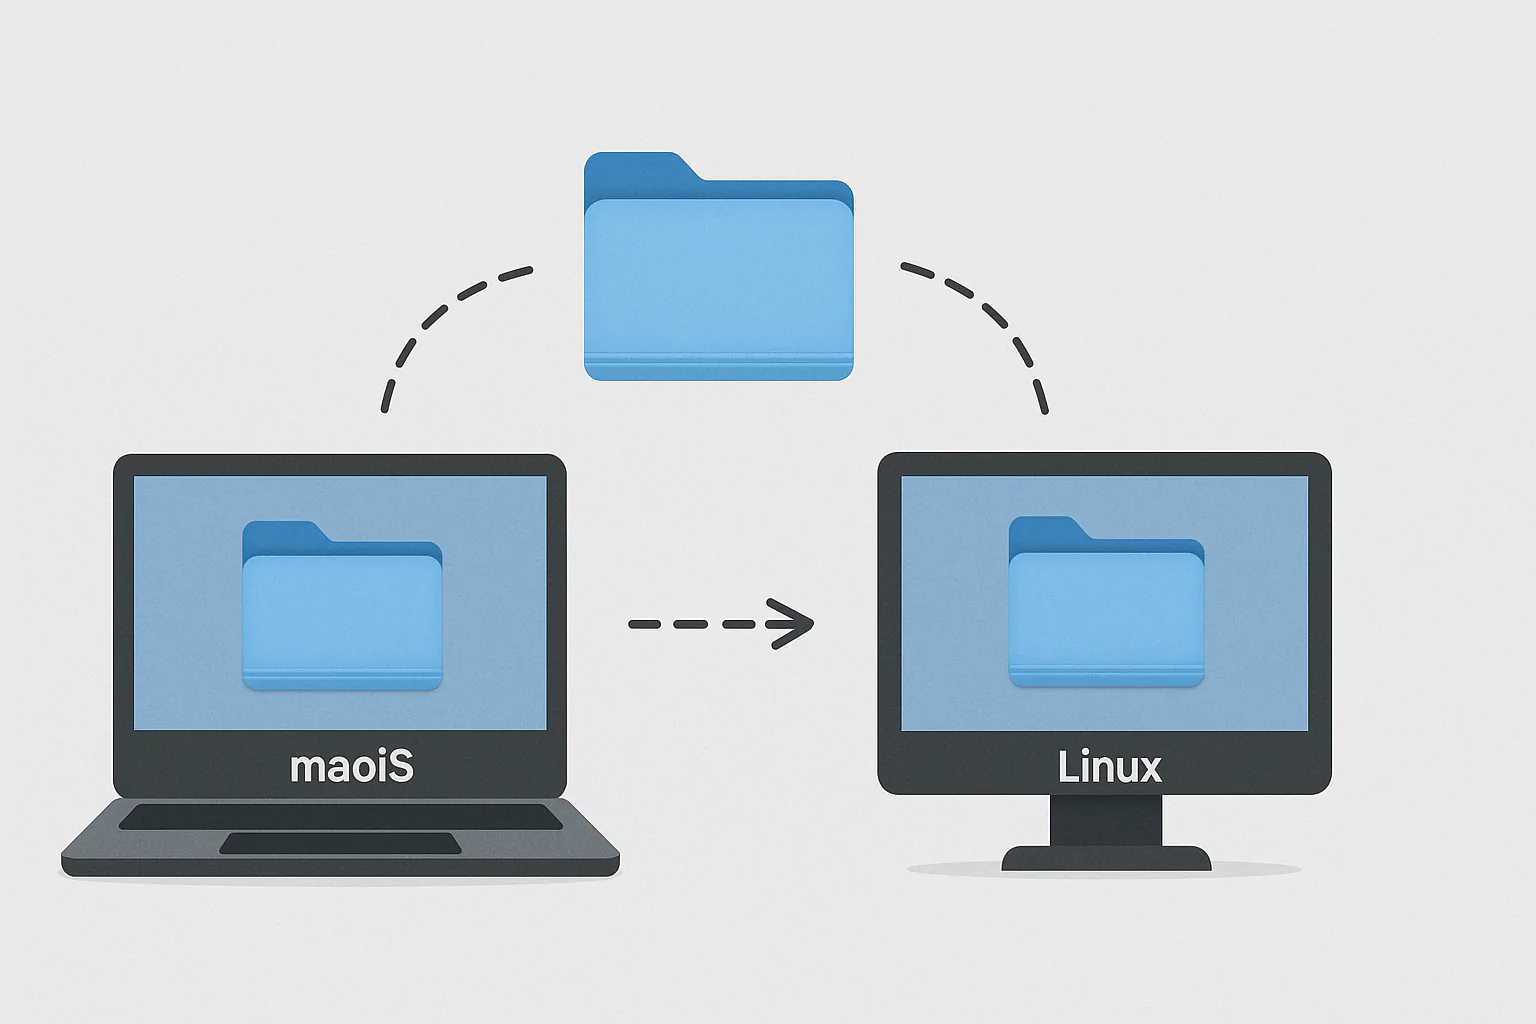
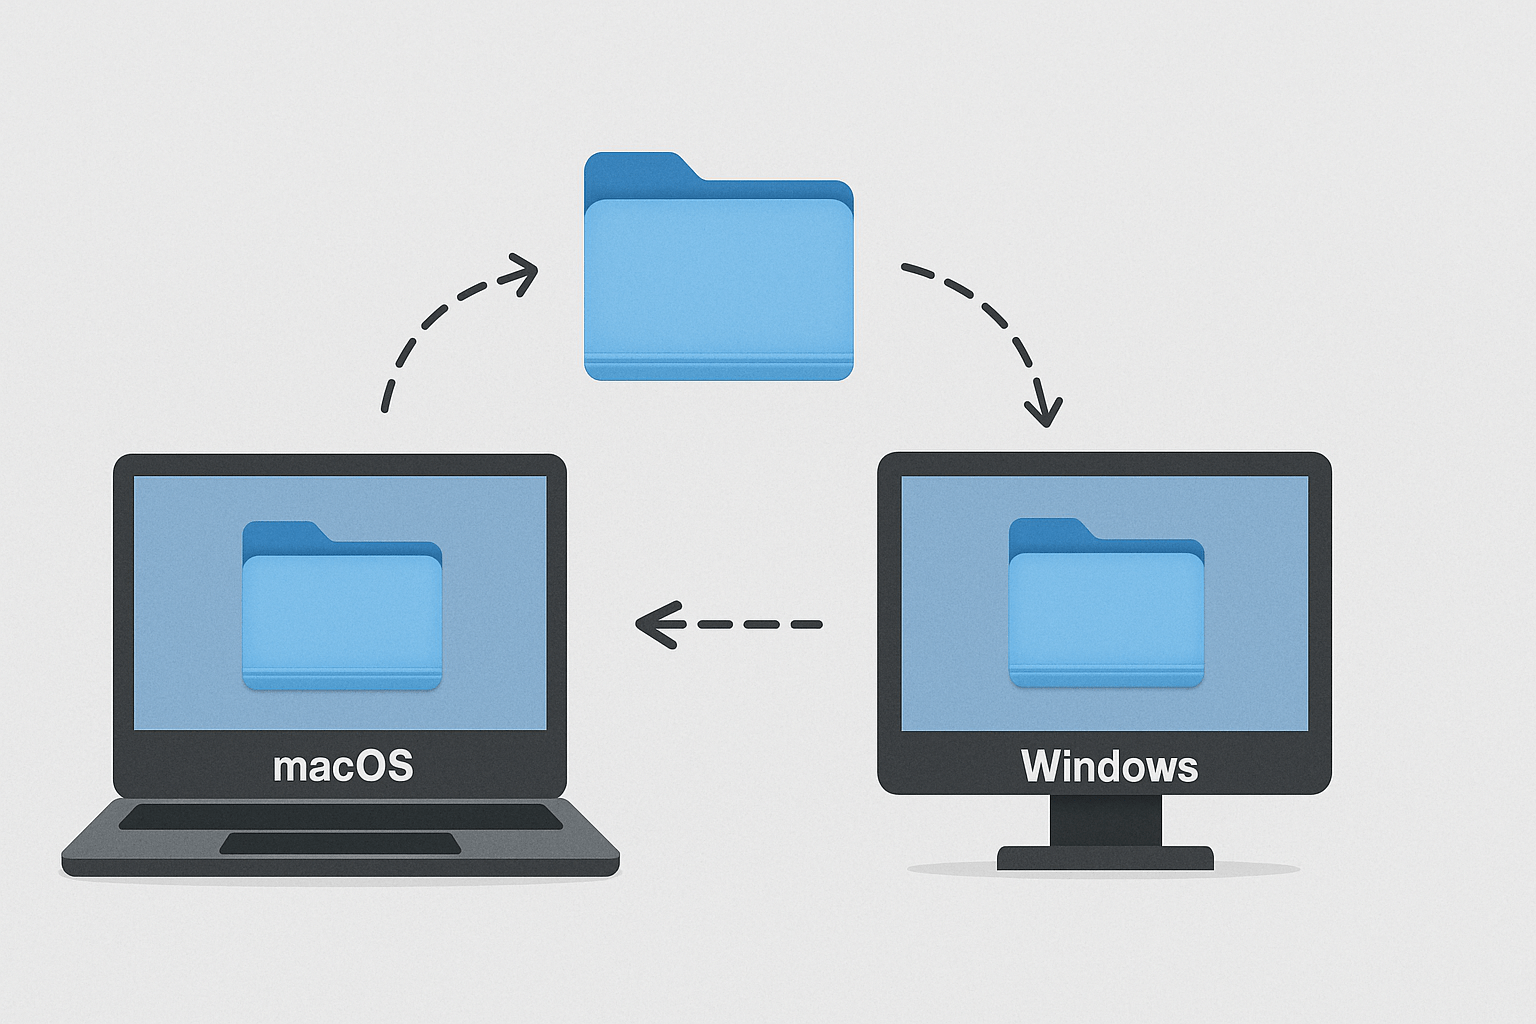
Next, connect the desktop or mobile apps for Android and iOS. The Nextcloud app can upload phone photos automatically, so your phone can send them home. For related tasks, see how to reach your server privately with Tailscale or share folders between your Mac and home server. Keep those guides for their own paths; the setup here still uses the domain and ports described above.
Frequently asked questions
Yes, this guide’s route needs a domain that points to your server. Think of it as the street address for your cloud’s front door. But you need not bring an existing name: the manager’s page can register a free dedyn.io subdomain through deSEC. Use your server’s number for the management page itself.
The direct route here requires ports 80 and 443 forwarded through your router. So this is not a guide to a setup with no open ports. An existing front end changes which service receives visits, but the project guide does not describe a complete private-only route. Follow the path that matches your network.
Use the manager’s page to handle updates, rather than treating each part as a separate job. First, choose your backup location and run a backup. Then enable daily backups and automatic updates there. The manager can update the containers, the main software, and its apps afterwards, so those tasks share one place.
Your own server hosts your Nextcloud instance, meaning your running copy of the service. The named storage box in this guide holds the manager’s configuration, or setup details. Do not mistake that box for a full backup of your files. For a restore, keep both the backup archive and its password available.
Make your Nextcloud Docker cloud part of home

Imagine your phone now uploads photos to the server in your own home. The storage warning started the search, but the goal grew clearer along the way. You wanted a home for files you could understand and manage. A Nextcloud Docker setup gives that wish a practical path, with one manager to guide the work.
Think back to the filing cabinet in your house. It helps because you know where it stands and how to open it. Your cloud needs that same care, so keep its domain, management passphrase, and backup plan clear. Control of your data comes with a few plain jobs that deserve a place in your routine.
You have seen how Nextcloud with Docker brings those parts together. The current release family is called Nextcloud Hub, but you can begin with the files and photos you came to save. If you need help, turn to the Nextcloud community forum and the project guides. Describe the step where you got stuck, so the question stays clear.
Finally, give your Nextcloud Docker cloud a calm first use. Open your domain, check your saved management passphrase, and finish that first backup. Then connect your phone and turn on photo uploads. Imagine watching those photos reach your home server, with the next steps clear and your spare copy planned. That is a useful place to begin using Nextcloud.