













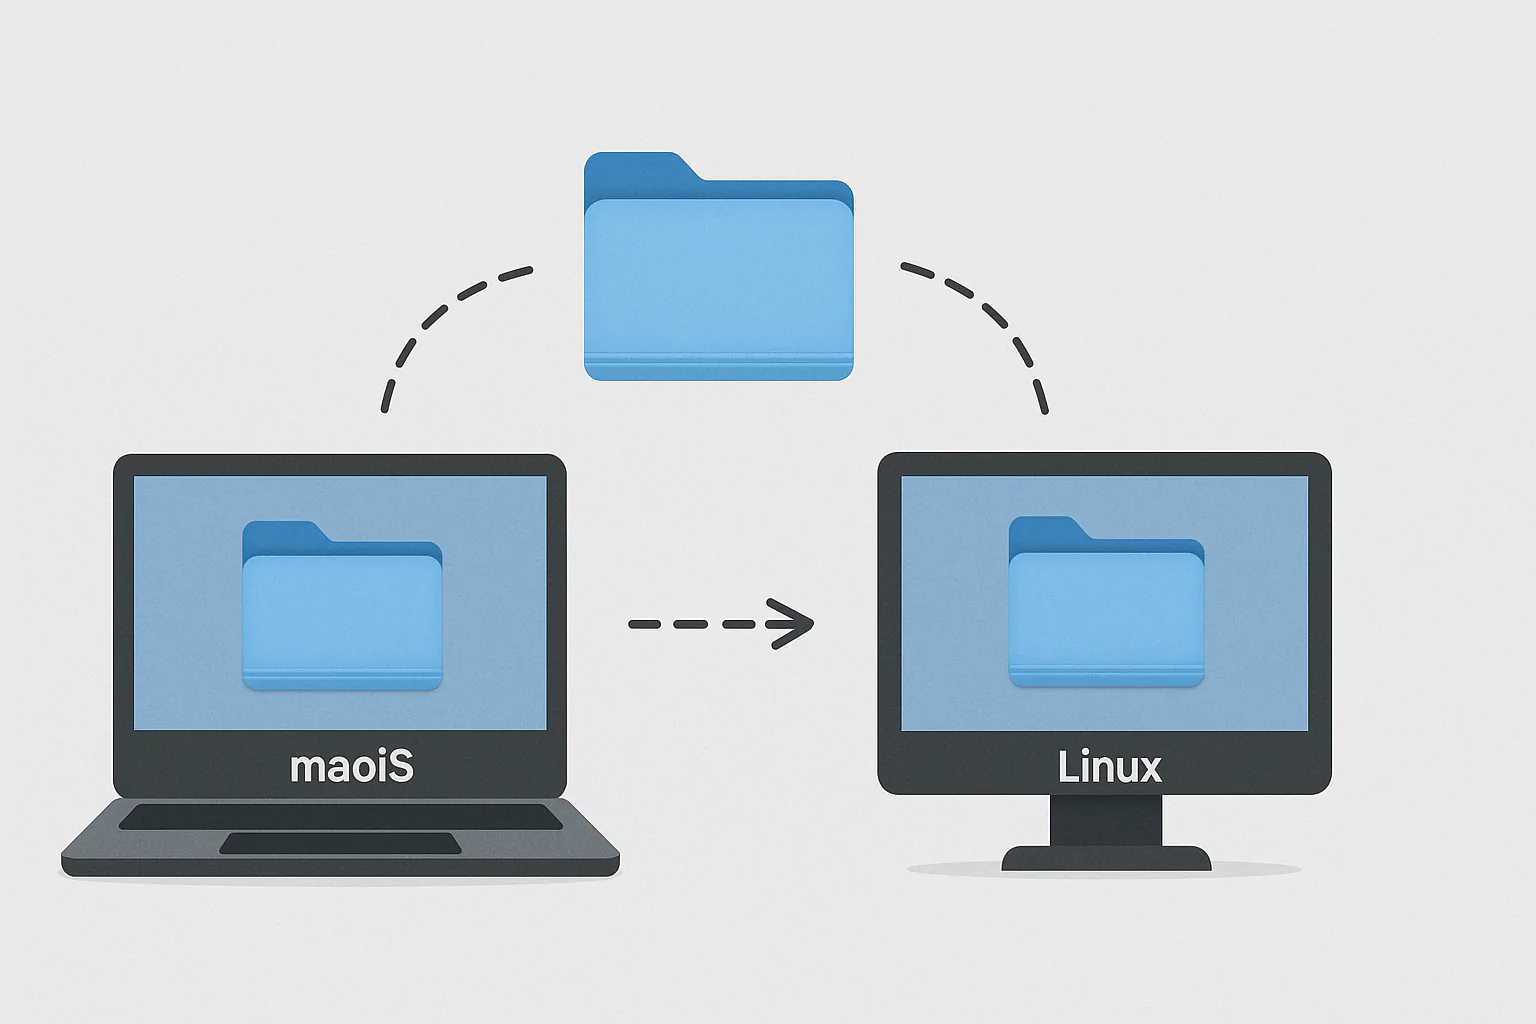


















An Ubuntu home server needs at least 1.5 GB of RAM and 4 GB of storage. RAM means working memory, while storage holds your files; GB means gigabytes, a measure of space. Imagine holding a USB stick beside an old laptop from your drawer. You want it to hold photo backups and run media apps, but the first step feels unclear. Think of it as a quiet helper who stays home all day. It holds the house keys to your files and apps while you are out. First, though, that helper needs a place to work and clear rules to follow.

This guide uses Ubuntu Server 26.04 LTS, which means long term support with updates for years. Linux, its software family, provides the operating system: the main software that runs the computer, which makes this a Linux server. You can practise in a virtual machine, a computer made in software, before using your hardware. But our path follows that dusty laptop from the drawer to a shelf. We will give it a fixed address, test remote access, and set safe gate rules. Then we will check how it gets security fixes. You do not need to learn every open source term first, because each step has a clear check before you move on.
Install Ubuntu Server for use at home

To install Ubuntu Server at home, gather the laptop, a USB drive, and another computer. A network cable also helps with the first setup. Get the image, the installer file, from the official download page. Then use balenaEtcher or Rufus to write it to the stick.
Think of this installation as moving into an empty flat. There is no furniture, meaning no desktop with windows and icons, just the rooms you need. More memory and storage leave room for apps later. For now, use this version of Ubuntu to build the base before adding those apps.
Follow the official installation process in order. Boot, or start, from the stick, choose your language and keyboard, then select “Install Ubuntu Server.” Next comes the network screen. It gets an address through DHCP, which means the network gives one out for you. Keep that choice for now.
The whole-disk storage choice erases the disk. Save any files you need elsewhere before going on. Then enter your name, machine name, username, and password. Tick the OpenSSH option for remote access, finish, and restart. Remove the stick when asked. Your check is simple: can you sign in on the laptop itself? Once that works, keep it nearby while we test access from your main computer.
Find the address and try remote access

With Ubuntu running at home, your server can now answer from another computer. First, find its current IP address, the network address other devices use to reach it. Run this on the laptop itself, using the command line: the text screen where you type instructions instead of clicking buttons.
ip aLook for “inet” under the wired connection and note the address beside it. The example below uses a sample address, so replace it with yours. Also replace the account name with the one you chose earlier. Then run the command from your main computer.
ssh [email protected]SSH means Secure Shell, a way to sign in from another computer. Think of it as an intercom: you speak to the house from the gate without walking inside. For this first check, use your password. Later, follow our guide to log in with a key instead of a password.
Imagine that dusty laptop answering from your main computer for the first time. You can now type there without sitting at its keyboard. That successful login is your check, so pause if it fails. Compare the address and account name with what the laptop shows. Keep local access close at hand, because the next change affects how the two computers find each other.
Give Ubuntu a fixed address for your server at home
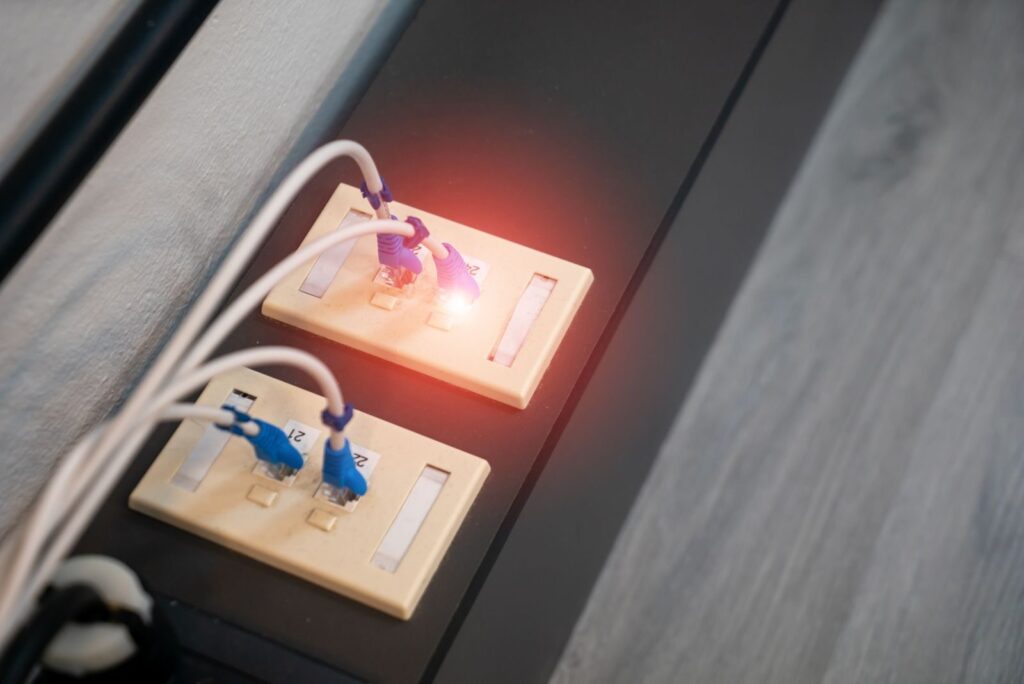
A static IP gives your Ubuntu server a fixed address at home. Think of a street address: the post needs the same door each time. Your other devices need that same clear destination. The easiest path is an address reservation in your home router, the box that manages your network.
Look for a setting often called “DHCP reservation,” then reserve the laptop’s address. This tells the router to give it the same one each time. Afterward, try remote access again with that address. If it works, you have checked the route you will use for the next steps.
The other path uses Netplan, the tool for network settings on the machine itself. Its configuration, or saved settings, lives in files under /etc/netplan/ ending in .yaml. The example below shows the layout. Adjust the connection name, device address, and router address to match your own network before using it.
network:
  version: 2
  ethernets:
    enp3s0:
      dhcp4: false
      addresses:
        - 192.168.1.50/24
      routes:
        - to: default
          via: 192.168.1.1
      nameservers:
        addresses: [1.1.1.1, 9.9.9.9]
The nameservers line sets DNS, which turns network names into addresses. Use the following command to try your changes. It gives you 120 seconds to press Enter and keep them. Otherwise, it brings the old settings back, so a mistake need not leave you cut off.
sudo netplan tryCheck access from your main computer before you confirm the change. You only need one of these paths, so choose the router option if it meets your needs.
Turn on the firewall in the right order

Your Ubuntu server at home needs a rule that keeps remote access open. The ufw firewall comes with the system and starts off. Its name means Uncomplicated Firewall. A firewall controls which network connections may reach the machine, so the order of these steps matters.
Think of it as a front gate that stays locked except for the doors you choose. Your remote connection uses port 22, its numbered door. Allow that door first, then turn the gate rules on. Finally, check the result so you can see whether the rules took effect.
sudo ufw allow 22
sudo ufw enable
sudo ufw status verbose
Run these lines in the order shown, because the first line keeps your remote connection working. The word sudo asks to run a command with system-level rights. The last line shows the current state and rules. Look for an active state and a rule that allows the remote-access port.
Then test a fresh connection from your main computer while keeping the laptop within reach. That check shows whether you can still get in after the gate closes. If access fails, use the laptop’s own keyboard to review what you entered. Keep the fixed address from the last step handy, too. Once this check passes, the next job is to bring the software up to date.
Let security fixes arrive on their own
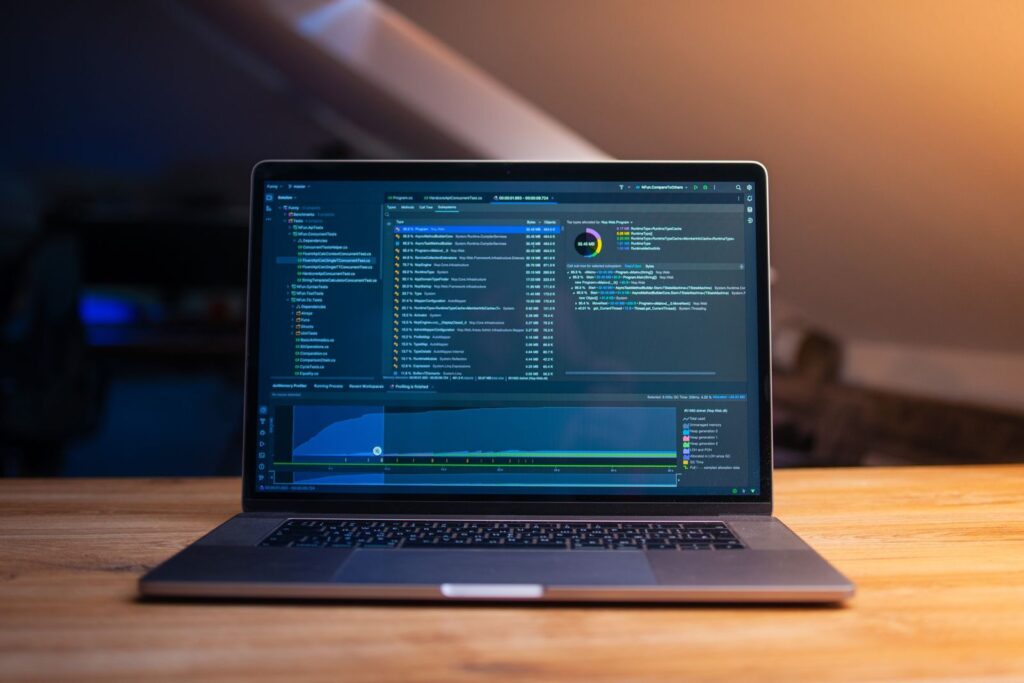
Let Ubuntu handle routine security fixes on your server at home. First, bring its software up to date with the command below. The automatic updates guide explains the built-in update tool and its settings. A package means a bundle of software that the system can manage.
sudo apt update && sudo apt upgradeThe first part refreshes the list of available software, and the next applies upgrades. Let the command finish before you move on. Think of later automatic security updates as a caretaker who fixes broken locks while you sleep. That caretaker handles routine fixes, but you still have a part to play.
The tool called unattended-upgrades already comes installed and enabled, so it applies security fixes on its own. Its settings live in /etc/apt/apt.conf.d/50unattended-upgrades. You can check that file when you need to review how it works. There is no need to configure a new tool just to get this basic feature.
However, it does not restart the machine by default. The setting Unattended-Upgrade::Automatic-Reboot is “false,” which leaves that choice with you. Check the sign-in message for a restart notice. When it says one is needed, use the command below. Then connect again after the machine starts, so you know it is ready before adding your first app.
sudo rebootFrequently asked questions
Yes, if it meets the minimum needs listed above. Keep it plugged in, because its battery acts like a small backup power supply during short power cuts. It can also run with the lid closed if you set that up. Think of the laptop as the quiet helper staying home while you are out.
No, this setup uses text commands rather than windows and icons. That is why we chose the empty-flat approach before adding apps. You can type those commands at the laptop itself or from your main computer after remote access works. So start with the base and add what you need next.
First, use the laptop’s own keyboard and screen to check its address. Then compare that address with the one you tried from your main computer. Also review the gate rule for the remote-access port. If you just tried a network change, remember that the timed check restores the old settings unless you confirm.
Choose the next guide based on what you want to do. Docker helps you run apps, while Tailscale provides safe remote access. But first, finish the address, access, gate, and update checks in this guide. A file server, which holds files for other devices, can remain a later goal for your home lab.
Put Ubuntu to work on your server at home

Your Ubuntu home server now has a base you can check and understand. Imagine the same dusty laptop sitting quietly on a shelf, plugged in and ready for its first app. You have moved from holding an installer stick to reaching the machine from your main computer. Each check helped make that path clear.
With Ubuntu on a server at home, the order matters as much as the commands. You tested local access before remote access, then gave the machine a fixed address. Next, you allowed the remote door before switching on the gate rules. Finally, you checked how fixes arrive and when a restart needs your help.
The update tool is your caretaker for routine security fixes, but keep reading the sign-in messages. That small habit keeps your part of the work clear. You also know where the network and update settings live, so you have a place to look when you need to review them later.
Now choose one useful next step. Follow our guide to install Docker for your first apps, or learn how to reach your server safely from anywhere. Pick the path that serves your first goal, then follow it from this checked base. The laptop on the shelf is ready to begin that next job.